Configuring Microsoft Outlook
Microsoft Outlook uses a mechanism called "autodiscover" to set up the groupios Extended Groupware Application account. This only requires the user to know their Email address and password.
Tip
As part of the Simplified Account Creation process, Outlook performs a lookup against a Microsoft service to provide the user with the account type and server address. If you change providers, this service may show outdated but still cached values for the old provider. If this happens, select 'Configure manually' and then select 'Exchange' to correctly auto-detect the remaining settings for your mailbox.
To disable this lookup service import this reg file.
Supported Versions
The supported versions of Microsoft Outlook are:
- Outlook 2016-2021
- Outlook for Microsoft 365
Attention
Microsoft Outlook for Mac is currently not supported
Create a new profile to use with groupios Groupware Extended Application
Attention
Due to the inner workings of Microsoft Outlook, we always recommend that you create a new profile for your groupios Extended Groupware Application account rather than adding your account to an existing profile.
If a profile has already been created, follow the official Microsoft instructions to add another profile.
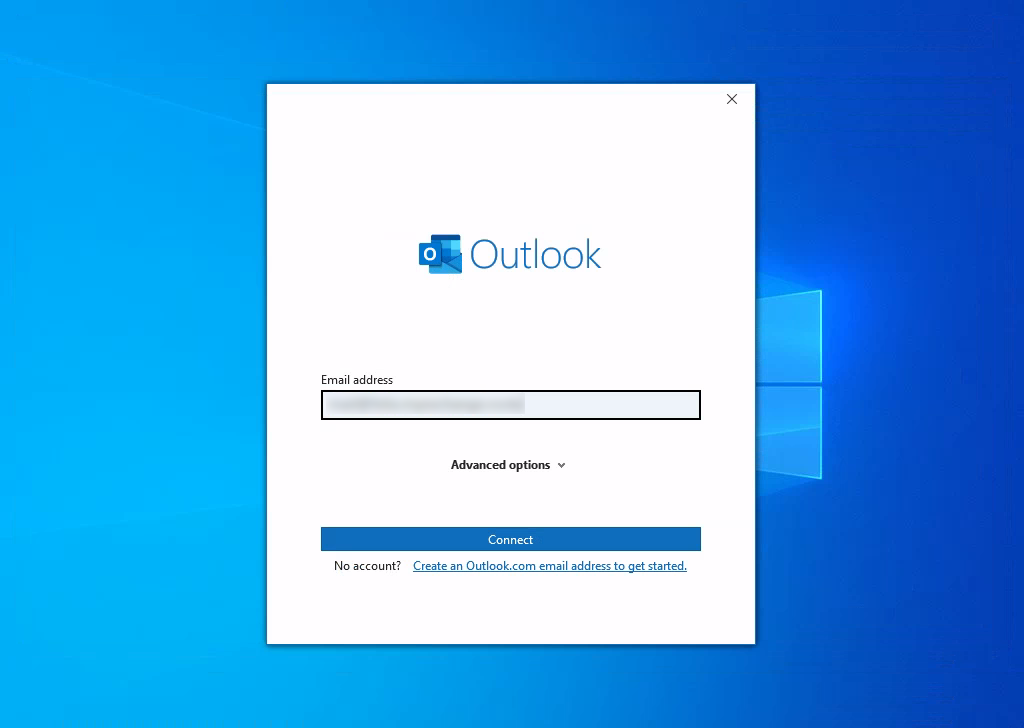
To start the configuration just enter the email address if your new groupios Extended Groupware Application account.
 To configure the correct type of account, select "Exchange" as account type.

In the next step Outlook will ask for the password associated with the account.

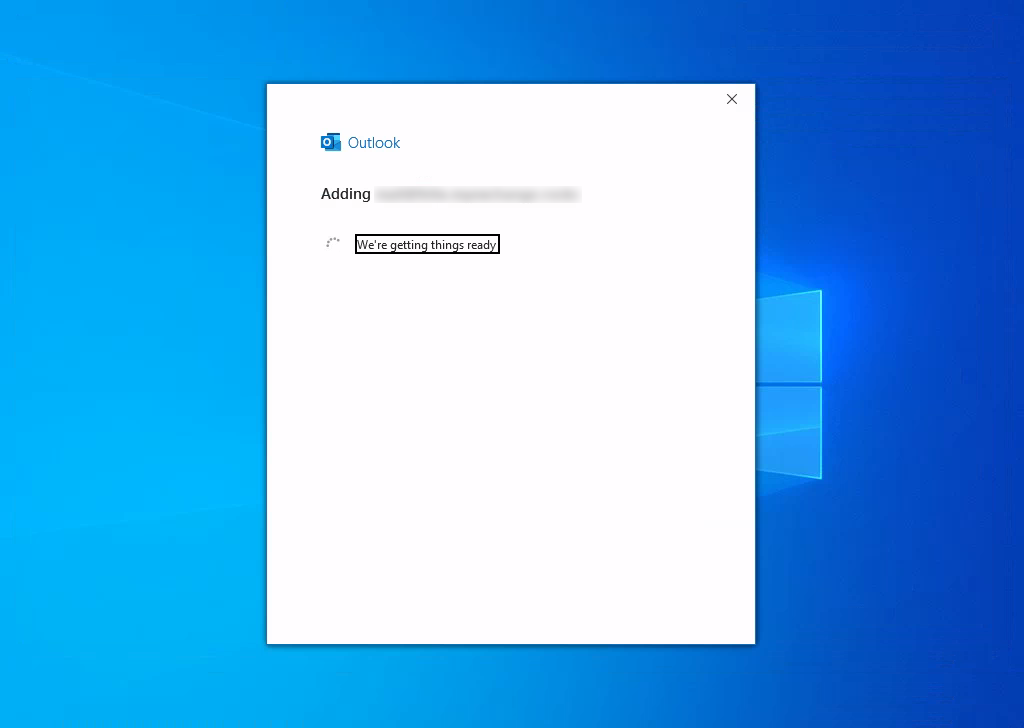
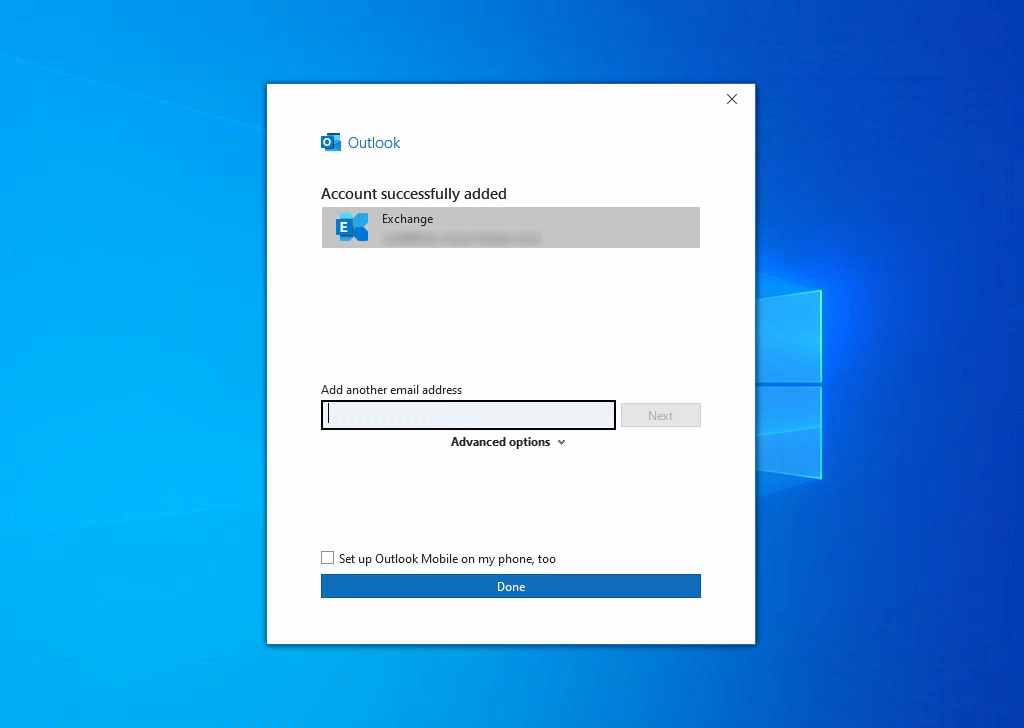
The account will then be configured automatically.
Finally, you can add additional email accounts to the new profile.
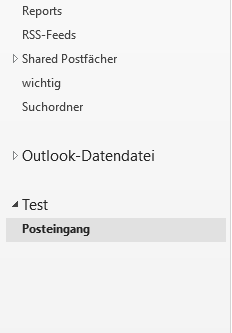
Once Outlook has started, the new account is ready to use.
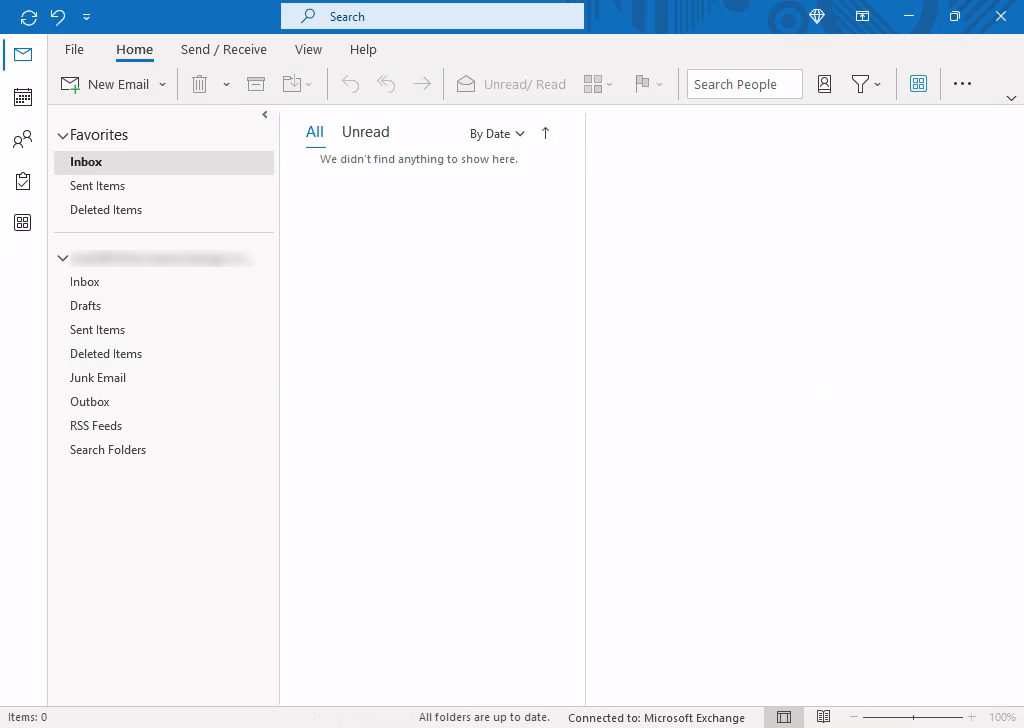
Open shared mailboxes
As of now, shared mailboxes do not open automatically. Additional mailboxes to which the user has access can be added as follows.
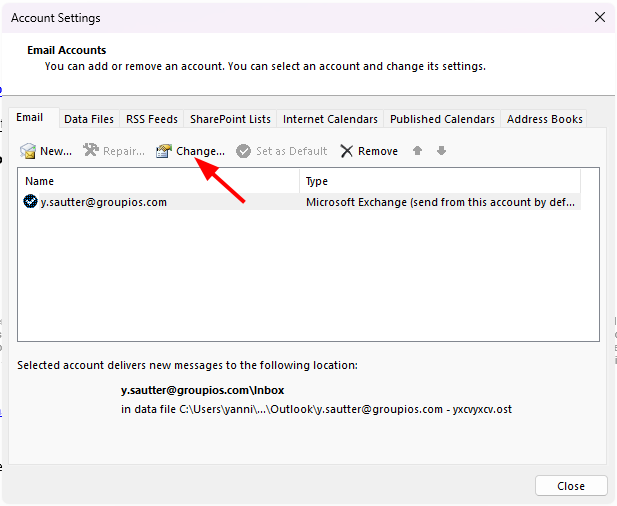
Select Accountsettings:

Here, choose to edit the mailbox account.
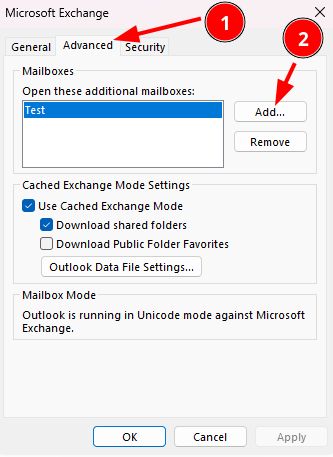
Navigate to more settings.

Choose the advanced tab and add the desired mailbox.
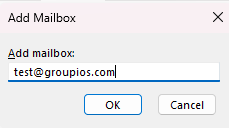
The mailbox will now be displayed in the overview.